If you have a CRM without a mapped-out customer journey, you’re doing it wrong. In today’s age, a well-implemented CRM is no longer an optional “nice-to-have” – it’s essential. So much so, the very first thing we do when chatting to folks that are new to HubSpot or want to optimise their portal, is develop a visual representation of their entire customer journey. Today, we’re going to detail our tried and tested Customer Journey mapping process with you, so you’re able to walk away and implement this within your company.
By the end of this article, you’ll:
- Know what a customer journey map is
- Know what should be included in it
- Have a simple step-by-step guide on how to map it
- PLUS, you’ll have access to our FREE customer journey template
Customer Journey Maps: What are they and how can they help you?
A Customer Journey is the complete sum of experiences that a customer goes through while interacting with your brand. From the first time they become aware of your brand right up until they do business with you, and how they interact with you after they have already become your customer.
A Customer Journey Map is a visual representation of the entire customer journey after the point that the prospect becomes a lead, right up until and after they become a customer.
Here’s an example of what a customer journey map might look like:

To view this image in full size see here.
How does a Customer Journey Map help you?
The Customer Journey Map is the single biggest sales enablement piece that a business can have. By mapping out the entire sales journey, you can:
- Clarify your entire sales process, allowing you to scale up your sales approach by hiring sales reps to follow a streamlined process. Without a roadmap, how can you expect your sales reps to perform?
- Automate parts of your sales process to save your sales reps time so that they spend less time on admin tasks and more time on closing deals
- Identify pain points and areas where you can improve your sales enablement strategy
- Improve collaboration and communication: Creating a customer journey map requires input and collaboration from multiple teams, including marketing, sales, and customer service. This process ultimately leads to a more cohesive approach to serving customers and ultimately driving sales.
Ultimately, the goal of a Customer Journey Map is to create a seamless and satisfying sales process, which can lead to increased sales close rates, a shorter sales lifecycle, and happier sales reps.
Before you start building a customer journey map
Before you start to build your Customer Journey Map, it’s important to understand every part of the map first. By the end of this section, you’ll understand every part of the map below.

To view this image in full size see here.
Lead and Deal Stages

These should represent the exact stage a person is at in the entire sales journey. Stages can be skipped and don’t necessarily depict a linear journey, even though they are represented in this way. For example, a customer can move from ‘new lead’ straight to ‘qualifying’. Ultimately, lead and deal stages depict the journey that the customer moves through during the sales lifecycle.
Each stage is differentiated by:
- Closeness to end of journey: each stage differs in how close the customer is to the end of the sales cycle. In the above example, a customer in the ‘Open Deal’ stage is closer to finishing the sales cycle than a customer in the ‘New Lead’ stage.
- Level of engagement: each stage differs in the level and type of engagement that the customer receives from a salesperson.
The lead/deal stages used in the above example will not necessarily be the same as the stages that you will map out. Every business is different and so too is the sales cycle. In saying that, in our experience stages usually don’t change too much between companies, just the naming conventions.
It’s also important to add that although we have listed lead and deal stages, you might choose to map these in your CRM differently, for example, only using deal stages. Every company is different and there’s no right or wrong. The main point is that wherever the prospect is placed truly reflects the stage they’re at in their customer journey.
Stage Objectives

Stage Objectives are just that – the objective of that particular stage. In the above example, we can see that in the lead stage ‘New lead’, the objective is to ‘Book a call’. Stage Objectives are very important, because they tell us what needs to happen before a prospect can move from that stage to the next.
This adds clarity and helps us think about what we’re going to be doing during this stage but also what happens after this stage. In other words, the stage objectives helps us build out our entire journey and keeps us accountable to the tasks we need to commit to within each stage for that stage to be a success. In addition, by defining stage objectives, you might realise that the stage isn’t necessary, or perhaps you’re missing one. Without defining stage objectives, you might not realise the opportunities of improvement.
Manual Processes & Automations

An Automation is a system, marketing or sales activity that occurs, which has been automated by software.
Examples of automated marketing activities include but are not limited to:
- Autoresponder Emails sent to prospects
- SMS messages sent to prospects
Examples of automated sales activities include but are not limited to:
- Tasks created for sales reps to complete
- Reminders created for sales reps to complete certain activities, such as calling a certain prospect on a certain day
- Sending out communications based on stored data
A manual process is a sales activity that is not automated by software and requires a salesperson to complete. The examples are similar to automation examples, such as sending out an email or setting a reminder to complete certain activities.
Ultimately, Manual Processes and Automations are all about answering this question: ‘What needs to happen during this deal stage in order to achieve the Stage Objective?’
By completing the Manual Processes and Automations, ideally the Stage Objective should be achieved and prospects should be moved on to the next Deal Stage.
But, how do you decide which sales activities to automate and which to manually complete?
Well, mainly it depends on the sales software you use. For example, some CRM and Sales software allow you to automate more sales admin activities so that your sales reps spend more time selling and less time doing admin work. However, other CRM and Sales software may lack in these abilities. On top of this, factors other than the CRM and Sales software you use may influence your decision on what to automate and what to process manually, such as the salespeople you’ve hired, the Customer Journey Map you’ve built, and your services or products.
Quick Recap

Now when you look at the Customer Journey Map, you should understand almost everything. You can spot the lead and deal stages, the stage objectives that define these stages, as well as the automations and manual processes that must be completed at each stage. This doesn’t look so overwhelming now, does it?
The only part of this map which we haven’t spoken about is the light green boxes. This section is an optional section that you don’t necessarily need to have in your Customer Journey Map. It represents the post sales process – everything that happens after the sales process is completed – and usually involves some form of nurturing. This is something you could look at as a “phase two”.
Now that you understand every part of the Customer Journey Map, let’s learn how to build one for your business.
Step-by-step Process on Building Your Customer Journey Map
Creating a customer journey map can be a daunting task, but it’s an essential step for any business looking to improve its sales and marketing strategies.

Here are the key steps to building a customer journey map:
1. Duplicate Miro board
First, go to the Miro Board here. Then, follow the steps in the below video guide to duplicate the Miro Board:
Note that after you sign up to Miro, it may take you to a generic Miro page, after which you can simply go back here in the same browser to continue with the duplication process.
2. Create a starting point
Your starting point is the first stage of your customer journey, and it represents the touchpoint where a prospect enters your ecosystem.
To figure out what your starting point is, ask yourself and your team:
How do prospects enter my ecosystem?
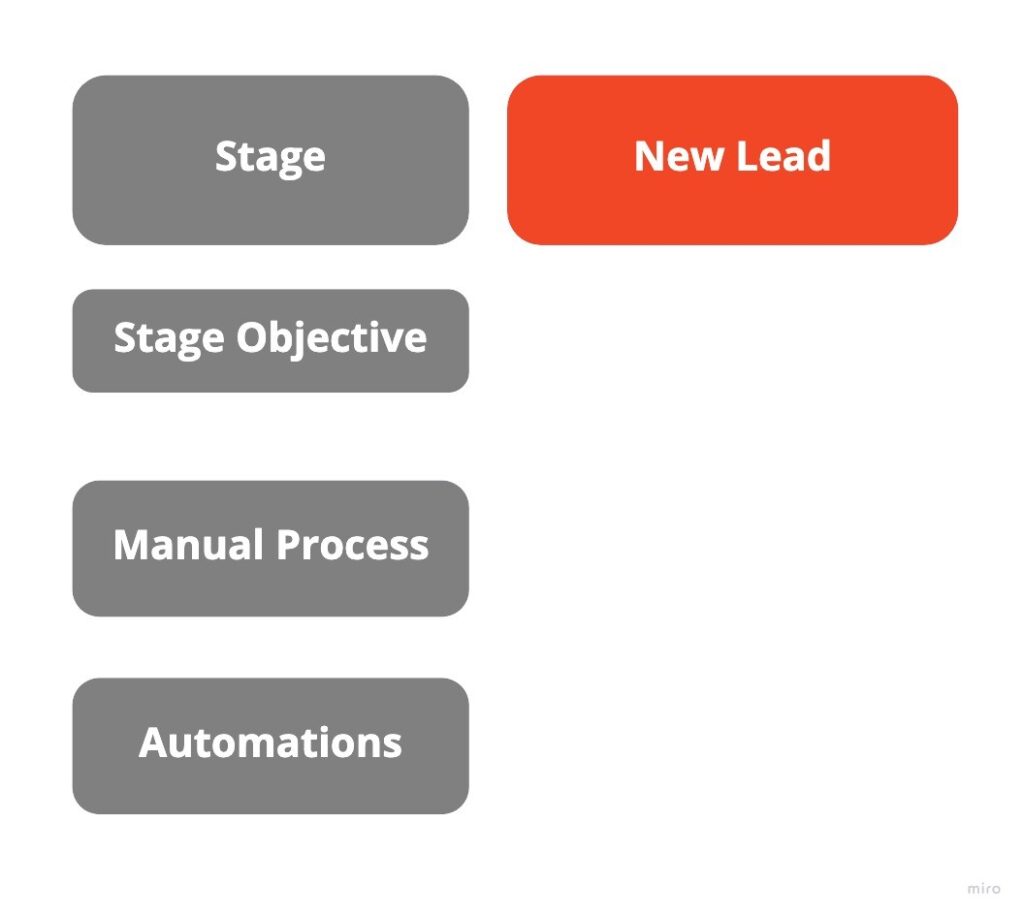
For example, you might find that they enter by providing their details on a form (in which case your first deal stage would be ‘new lead’), or perhaps you’re using cold calling to contact your prospects first (in which case your first deal stage would be ‘first cold call’).
Depending on your starting point, the initial stage may change or more stages may need to be added. However, in most cases, it’s going to remain as ‘new lead’ – regardless, it’s still beneficial to figure out your starting point, because from here, and only from here, can we move to the next step.
3. Map out deal stages and objectives
Before we get started with this step, as a primer we’ve recorded a 60-second video below, showing you the different parts of the Customer Journey Map and how you can go about editing it.
Let’s continue with step three of the process. You’ve got the starting stage ready, but what about the rest?
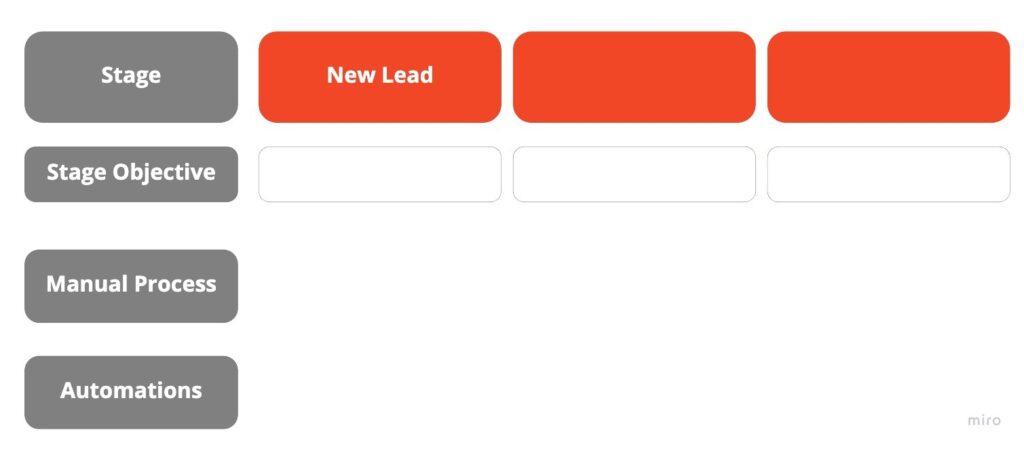
Well, you’re going to have to change the rest to represent your sales process, which is uniquely yours. How can you do this?
Go to your starting point. In the case of the template we’ve provided, that would be ‘new lead’. Then, ask yourself, “What is the goal you need to achieve with the prospect to move them to the next stage.”
For example, in the ‘new lead’ stage, the goal we need to achieve to move to the next stage is to ‘book a call’. As you can see in the template, ‘book a call’ is what we have listed as the Stage Objective (white box underneath the deal stage box titled ‘new lead’). Fill this objective out to match your own.
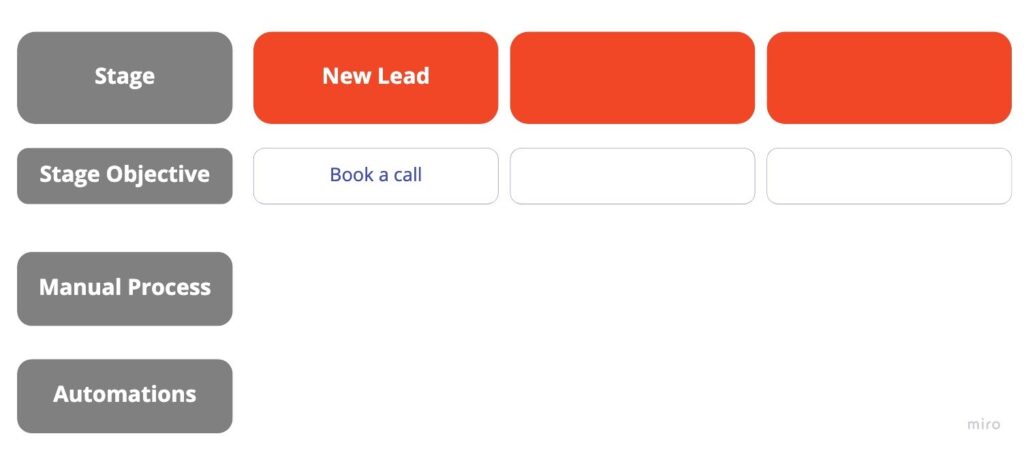
Then, ask yourself, “What happens next, after this objective is met?” In the case of the example provided, the next thing that happens is “attempted to contact”.

As you can see, this becomes the second stage. From here, you’ll simply repeat the above steps to continue to generate stage objectives and deal stages, until you’ve mapped out the entire process. Don’t be afraid to shift and change deal stages if you need to – the template we’ve provided is simply to get you started, but your sales enablement strategy should go beyond and be unique to your team’s objectives and context. Before you move onto the next step, make sure you’ve mapped out all of your deal stages and objectives in the Customer Journey Map.
4. Map out automations and manual processes
Once you’ve finished mapping out all of the deal stages and stage objectives, it’s time to map out your automations and manual processes. To do this, under each deal stage, ask yourself, “What needs to happen in this stage to ensure we achieve this stage objective?”
For example, under the ‘new lead’ stage, we would ask, “What needs to happen for us to successfully book a call with the lead in this stage?” The answer to this is in the example is an instant email autoresponder and several manual tasks, such as changing lead statuses.

The easiest way to answer the question “what needs to happen in this stage to ensure we achieve this stage objective?” is to write a list of all the things that you and your team think needs to happen, and then categorise that list by the tasks that can be automated and the tasks that must be manually done by a sales rep. Then, you can enter this information into the Miro board to build out your Customer Journey Map.
5. Map out upsell and cross sell stages and share it with your team
At the end of the journey, once the prospect becomes a customer, we’re looking at upsell and cross sell stages (these are included on the board provided, and you should think about these stages as well).
Once you’ve built the Customer Journey Map, share it with your team to get everyone on the same page and ensure that the manual processes are followed and the automations are built out to ensure the journey runs smoothly. How you get your team to follow these steps is completely up to you.
As your team uses the map, you will identify pain points which will lead to improvements in the journey map. That’s okay, and it’s actually a good thing.
FREE Customer Journey Map Template
You can grab our free Customer Journey Map Template here.
So, what’s next?
Now that you know how to build a Customer Journey Map for your business, you should have in your hands one of the most strategic sales enablement strategies available.
Next, you might want to learn more about using a powerful and suitable CRM as part of your sales strategy. You can learn about that in the below articles:
- Is it time to upgrade your CRM?
- HubSpot vs Salesforce: Detailed Feature & Pricing Comparison
- How HubSpot Gives Businesses Full Visibility over their Sales & Marketing Activities
- Is HubSpot powerful enough for large enterprise companies?
- How to convince your CEO or management that HubSpot is a good investment?
- The Ultimate Guide on Migrating from Salesforce to HubSpot
